In Bref
Making Seeded Paper: A Guide to Growing Flowers
Seeded paper, paper that blooms!
Planting paper, also known as seed paper or seed paper, is environmentally friendly paper that contains seeds ready to germinate. Learn how to easily create your own seeded paper with common materials you have around the house. Seed paper is a great recycling initiative and makes an impressive eco-friendly gift.
We have chosen to use melliferous and fertilising wild flower seeds to contribute to biodiversity. However, you are free to select the herb and flower seeds that appeal to you.
How does seeded paper work?
Once planted, covered with soil and watered, it gradually decomposes, allowing the seeds inside to germinate and give rise to plants, vegetables or aromatic herbs in just a few days.
Whether you're a gardening enthusiast, a stationery lover, an environmentalist, a DIY enthusiast or just curious, this guide is for you!
Why a guide on how to make seeded paper?
It's an ideal activity for a Sunday afternoon with the family, and a fun way to teach your children about nature, the environment, recycling and the cycle of life.
Making seeded paper is simple and doesn't require advanced craft skills or sophisticated equipment. You can then create unique cards for various occasions, such as Mother's Day, invitations, announcements or Christmas tags, with a nature and environment theme.
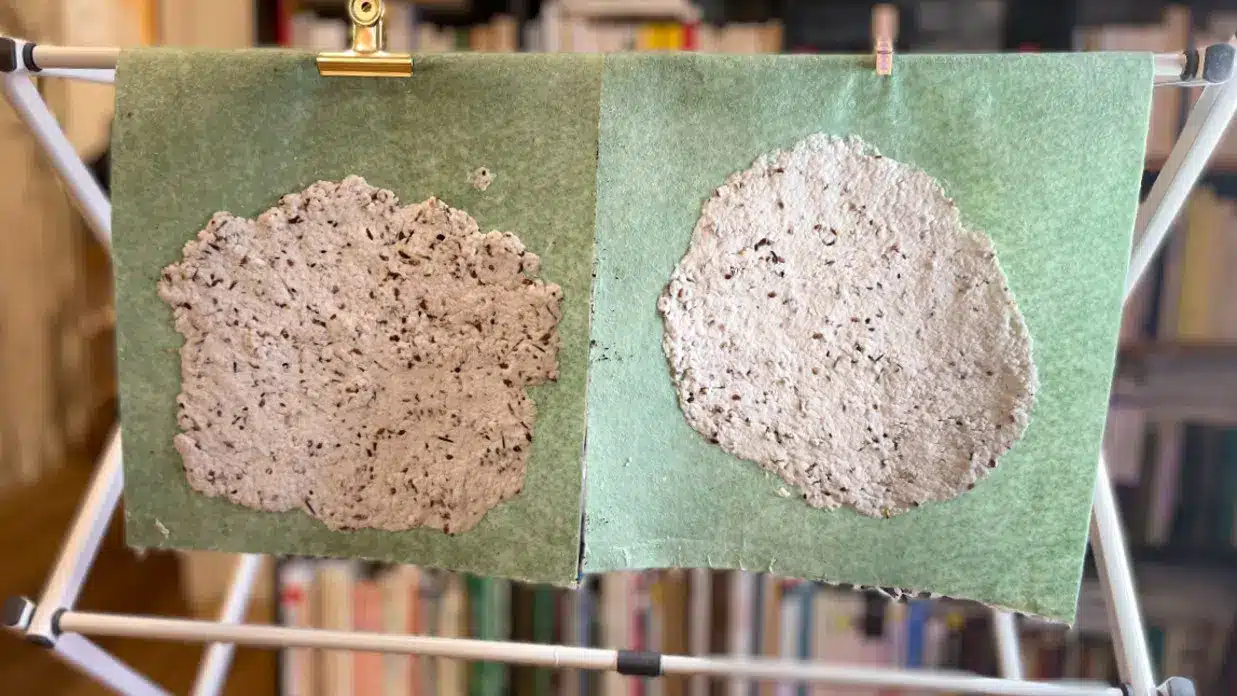
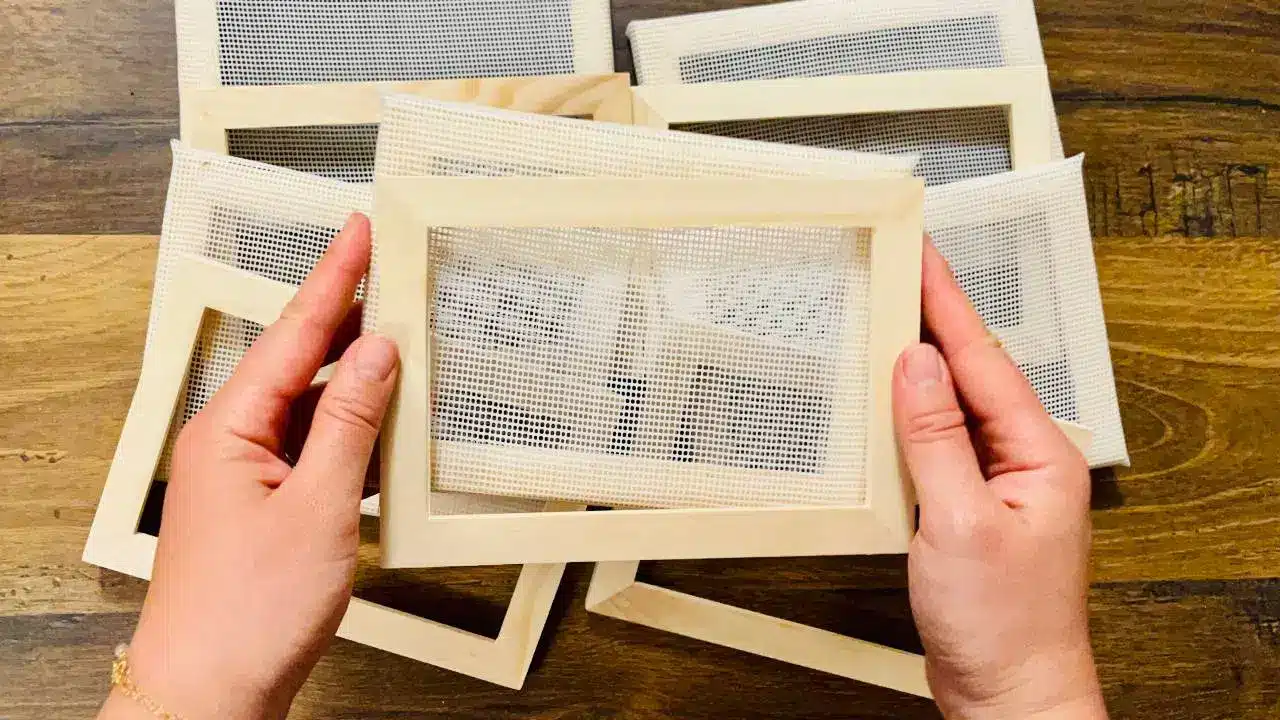
In this first guide to seeded paper, we show you how to make it with a minimum of equipment. The result will be rustic but charming, although not suitable for printing. Stay tuned for the next guide on seeded paper, where we'll show you how to make it with a homemade sieve for a more professional result.
Materials for making seeded paper
As for the equipment, it couldn't be simpler:
- paper already used, (even on both sides): newspapers, invoices, documents, etc., or even egg cartons after removing the label. The most important thing is that it's not glossy paper (you know, the shiny paper used in magazines), as this can't be recycled manually.
- seeds (all the same): field flowers, vegetables or herbs: poppies, blueberries, calendula, rudbeckia, dauphinelle, basil, carrots, dill. If you want to germinate them in the garden, make sure the seeds are suited to the climate where you intend to grow them. Personally, we get ours from Organic seeds Organic seeds with a super germination rate.
- a immersion blender It's not absolutely necessary, but it saves time.
- Textile mounts for your paper. Mops are ideal because the paper will peel off easily. They're easy to find in supermarkets, in rolls or as individual cloths. Otherwise, use ordinary tea towels.
- a large container: salad bowl, cooking pot, bios jug, etc.
- warm water
- chat is optional
You're now ready to make seeded paper. Let's move on to the practical steps in this guide.
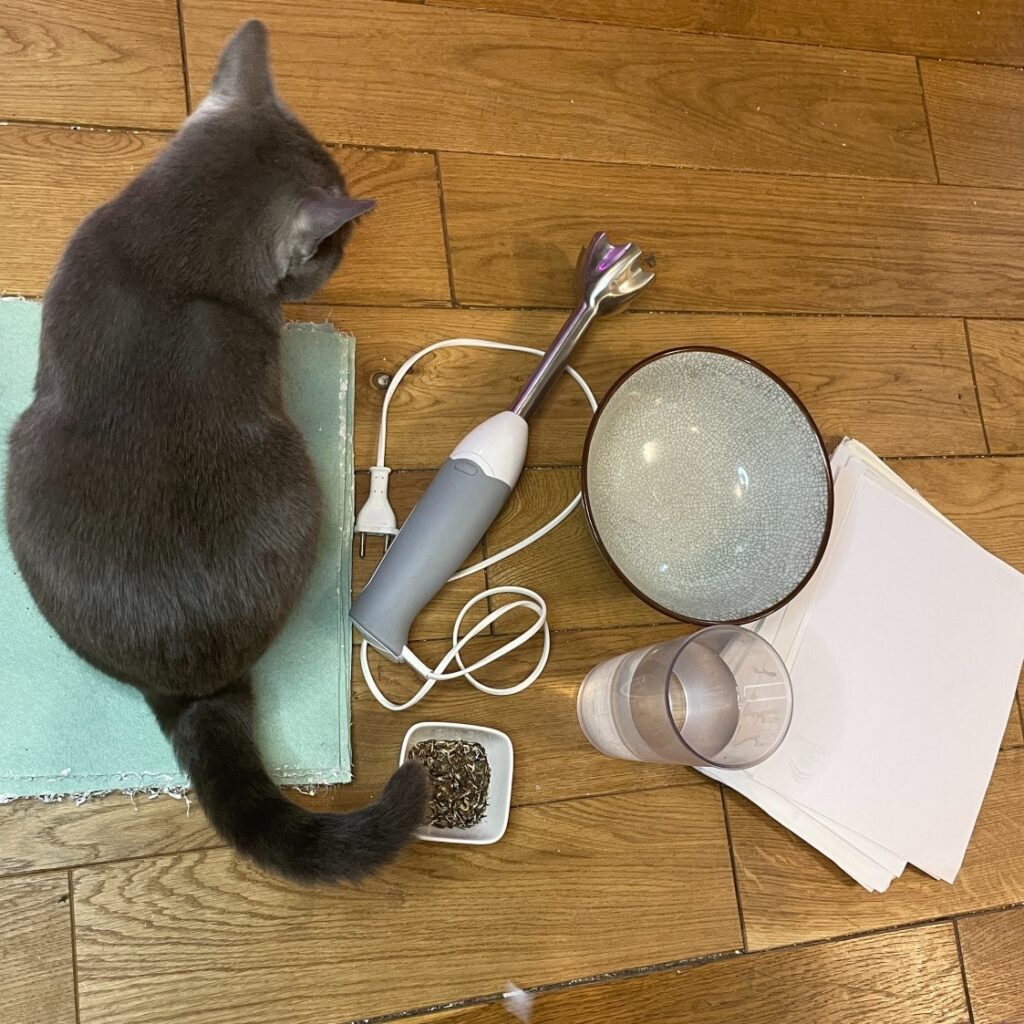
Make seeded paper - Step 1: Collect and Tear Paper
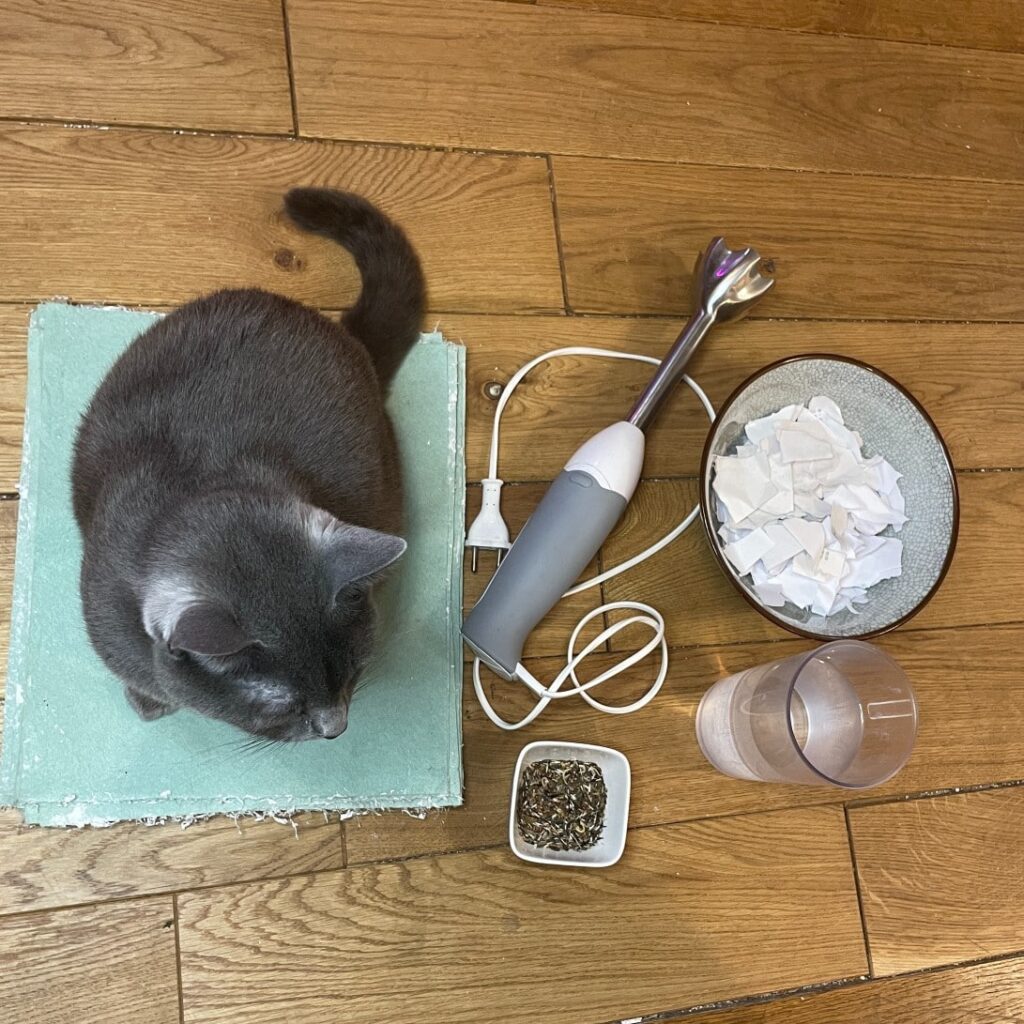
Start by collecting a large quantity of used paper, such as newspapers, egg cartons, old notebooks, paper bags, invoices and other useless documents. Make sure they don't contain staples, glossy paper or plastic.
Tear the paper into pieces about 2-3 cm square. If you don't have a blender, tear it into smaller pieces. This step may take a while, but it can be fun for younger children.
Making seeded paper - Step 2: Prepare the paper pulp
Add lukewarm water to a container and stir in the torn pieces of paper. Mix by hand, then use a hand blender if you have one. Stop when the paper pulp is smooth. If you don't have a mixer, leave the paper to soak for longer and mix more by hand. A few visible paper flakes are not a problem.
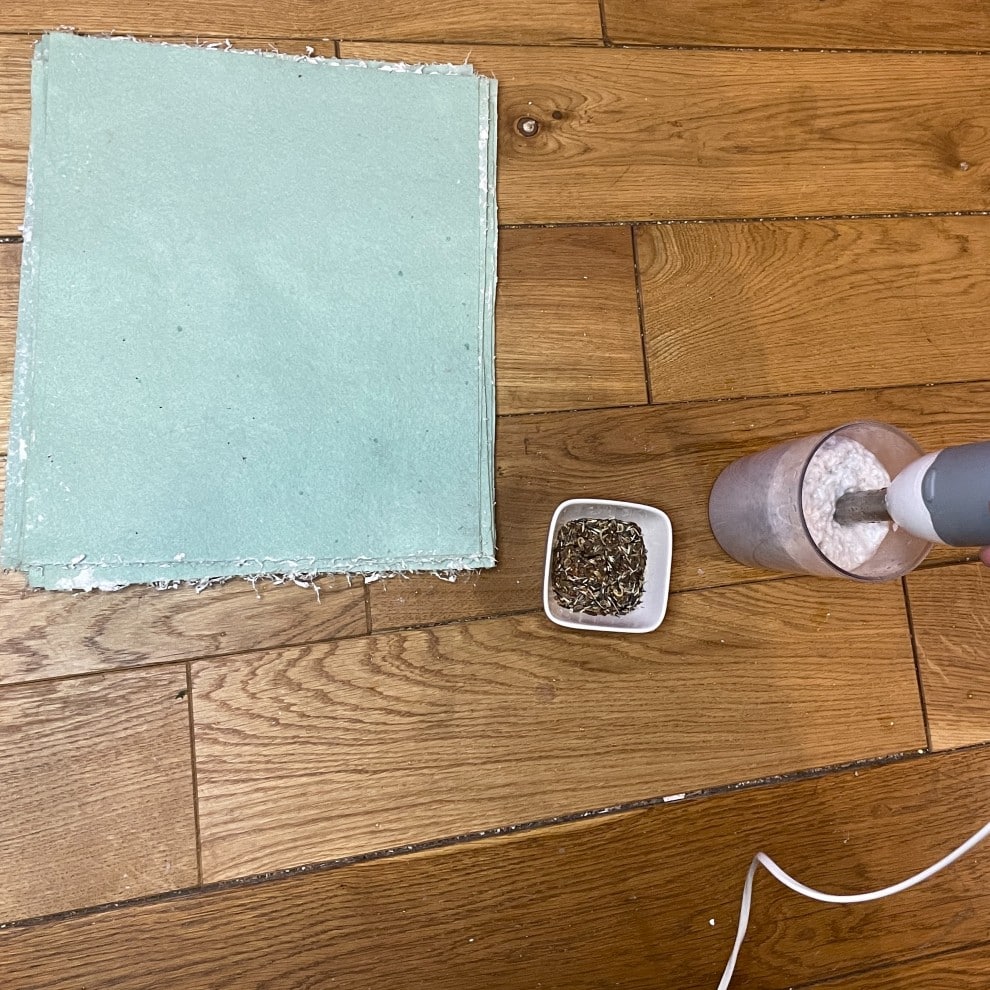
Making seeded paper - Step 3: Incorporate the Seeds
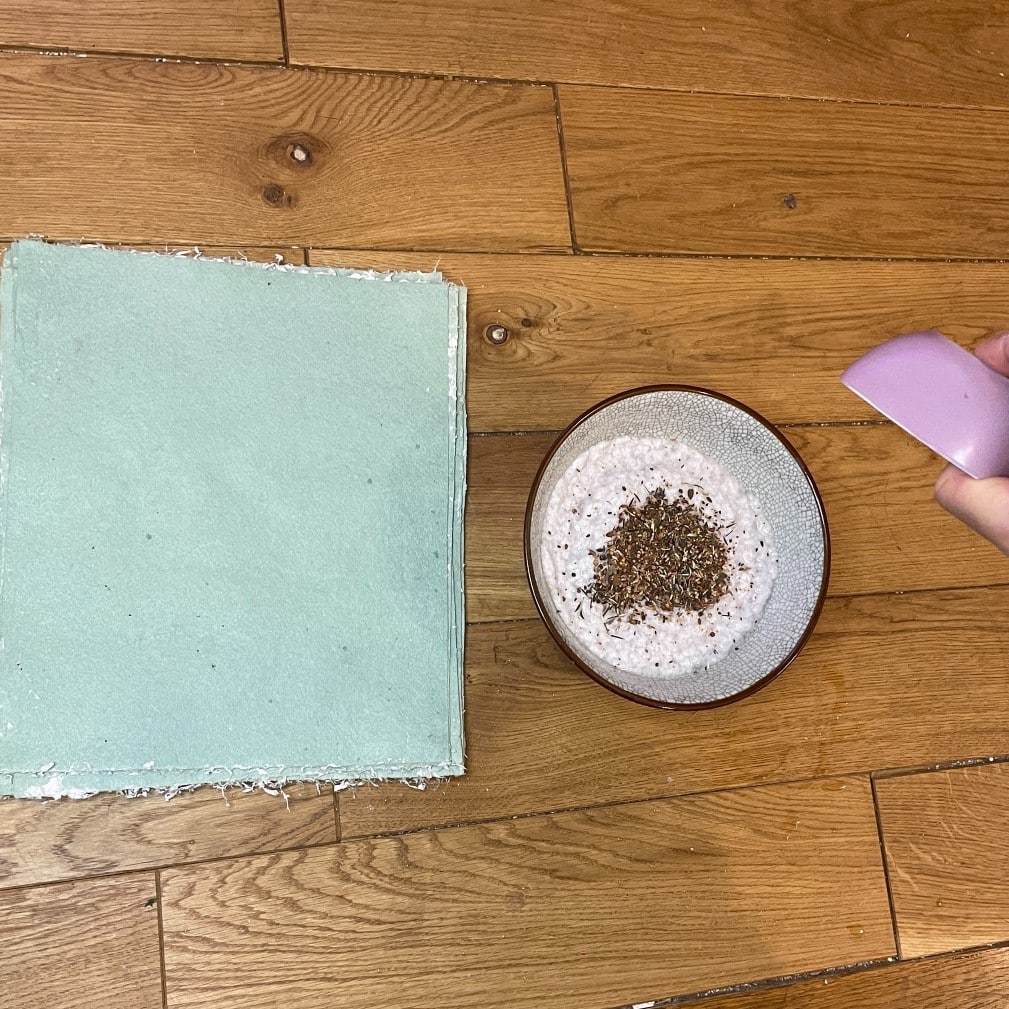
Now it's time to add the seeds of your choice, whether wildflowers, herbs or vegetables. About one tablespoon per half salad bowl is recommended. Mix well. Make sure the pulp has a fairly pasty consistency. If it seems too liquid, squeeze out the excess water.
Making seeded paper - Step 4: Spread, Flatten and Dry
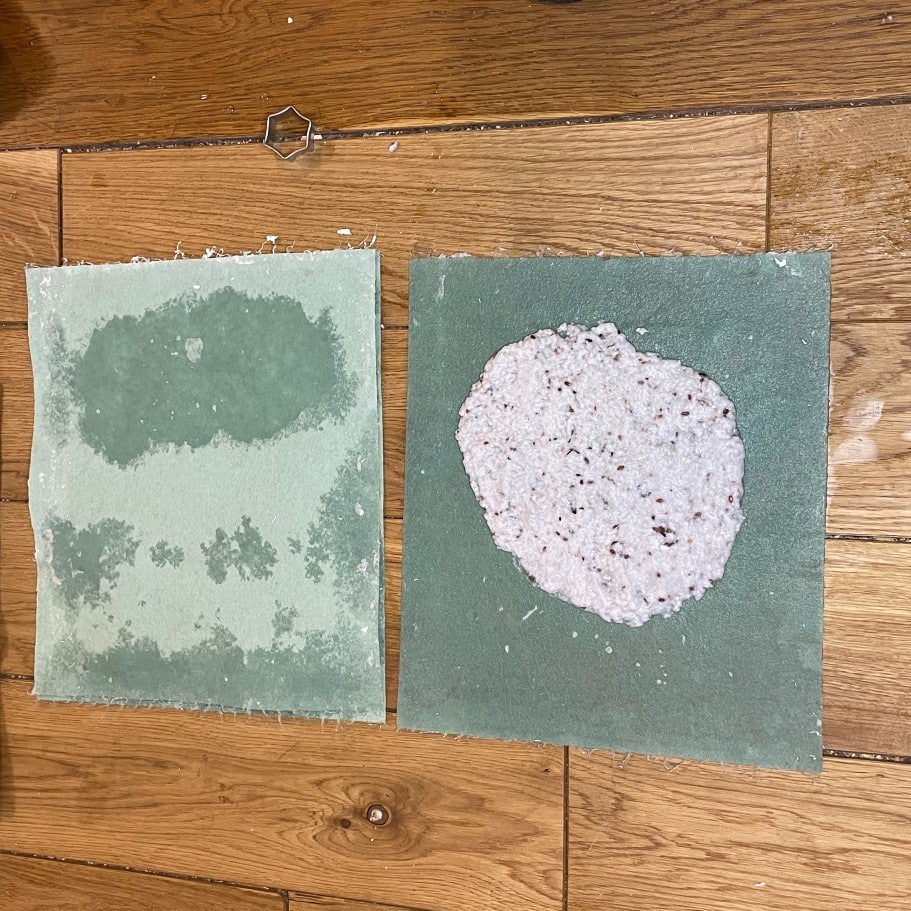
Spread a textile support over your work area, then spread the pulp as evenly and thinly as possible. You can flatten it with your hands or a spoon. The aim is to allow it to dry quickly. You can also give your sheets of paper specific shapes, taking care to avoid holes.
Cover the sheets with fabric and press to remove excess water. You can hang them up to dry once both sides are completely dry.
Making seeded paper - Step 5: Personalise!
Now you can give free rein to your creativity: for your correspondence, to create some great designs, and so on. business cards to plantwedding invitations, postcards, labels, bookmarksOr even, for the more daring, why not seeded calendars!
Handmade planting cards make a unique, zero-waste gift that will blossom for years to come... Whatever you do with them, they'll make an impact!
If you like this seeded paper tutorial, please share this article on seeded paper.or drop us a line!


There are 6 comments
I find this idea of seeded paper really fascinating! It's an innovative way of making everyone aware of the importance of biodiversity and recycling. Thank you for this detailed guide that makes creating seeded paper so accessible. I'm definitely going to try this with my family this weekend. Well done!
Thank you Laure for your support! Send us photos of your trials, we can't wait to see them 😉
I am very curious about this project. I'd like to know where I can get quality seeds for seeded paper. Are there any recommended seed varieties for beginners? Thanks for the informative guide!
Hello Vivi! I'm delighted to introduce you to seeded paper! We recommend seeds that are preferably organic, GMO-free and, above all, not F1 hybrids, so that they can be reproduced without degeneration on subsequent plants. To make the paper easier to make and the result prettier, you need small seeds: poppy, phacelia, camelina, lavender, yarrow, cosmos... Have fun and keep us posted!
The idea of creating greetings cards from seeded paper is simply brilliant! It adds a special dimension to handmade gifts. I can't wait to personalise my cards and see them bloom. Many thanks for this practical guide!
Thank you so much for your enthusiasm! We're delighted that you like the idea of creating greetings cards from seeded paper. It's a special way to share a bit of nature and sustainability with your loved ones. We hope you enjoy personalising your cards and watching the seeds grow into beautiful flowers. Please feel free to share your experiences and creations. We look forward to seeing the results of your efforts. Happy creating and thanks again for your support!